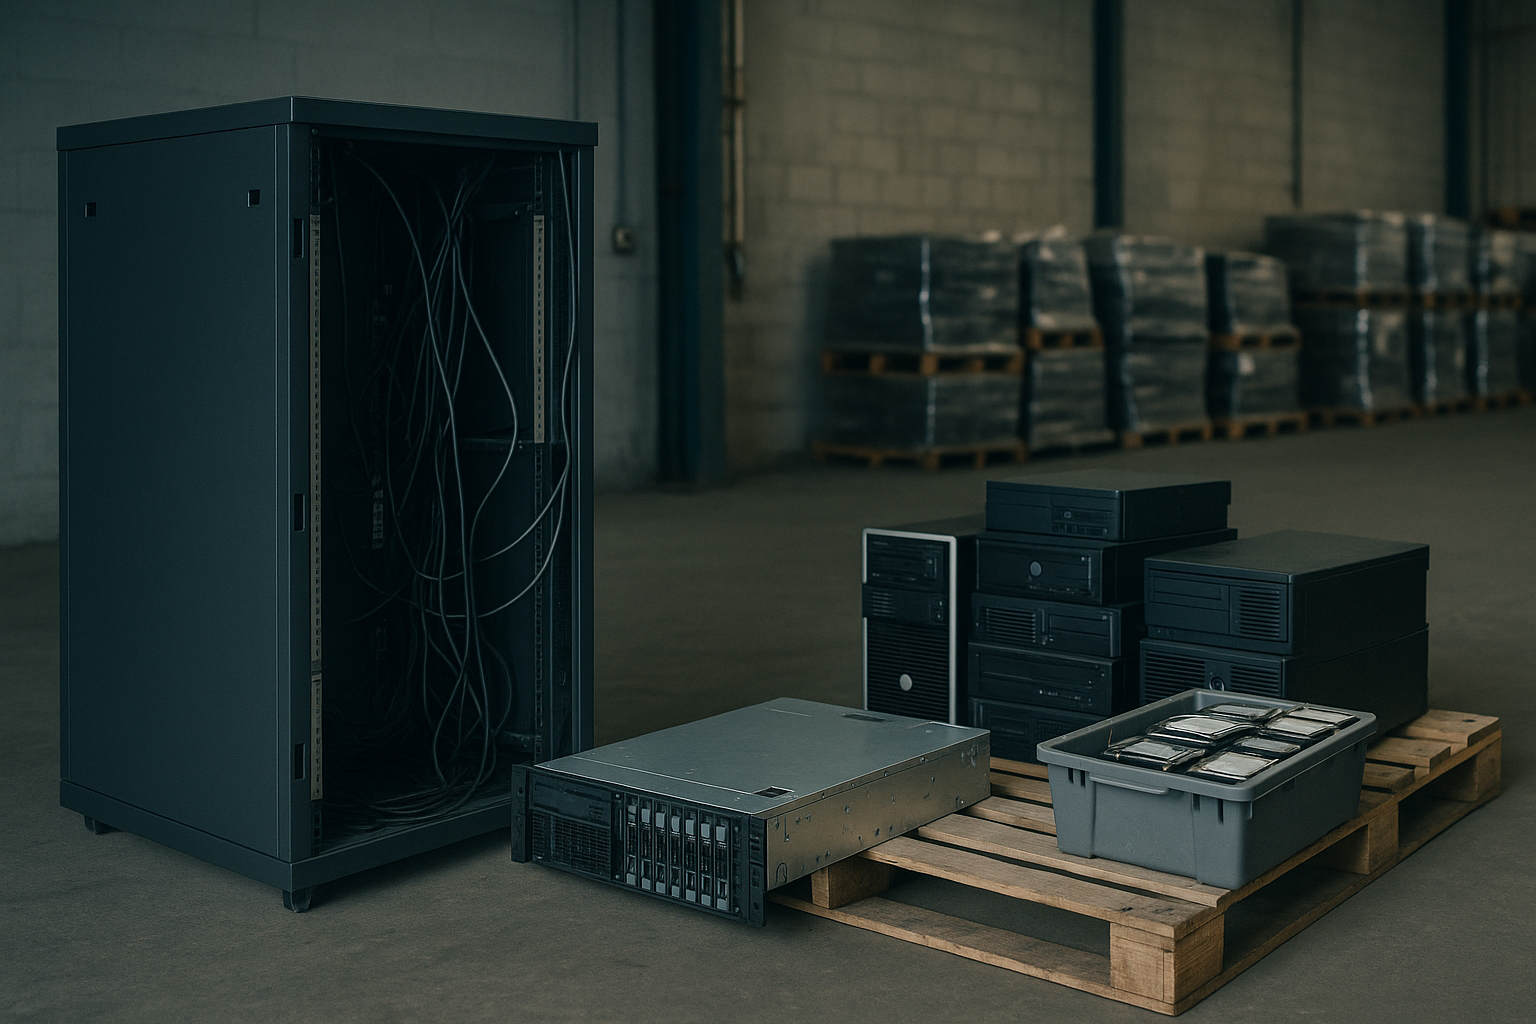
Decommissioning a Server Rack Without Losing Track of a Single Drive
Properly decommissioning a server rack involves more than just powering down equipment and dismantling hardware. It requires a detailed plan to ensure that no drive is lost or left vulnerable, safeguarding sensitive company data and optimizing asset return. For office managers and IT leads across Florida's Treasure Coast, a meticulous approach is vital to maintaining organizational security and compliance.
Before you start unracking those heavy servers, consider this comprehensive checklist to guide you through the decommissioning process with precision and care.
Step 1: Inventory the Equipment
Begin by taking a thorough inventory of all equipment within the server rack. Documenting the make, model, and serial numbers of each piece of hardware is crucial. This initial step establishes a clear starting point for the decommissioning process and aids in tracking each component throughout its removal and disposition.
Step 2: Backup All Data
Ensure that all data stored on the servers is properly backed up. Utilize both physical and cloud-based solutions to guarantee data redundancy. This overview will help ensure business continuity and protect against the possible loss of critical information during the transition.
Step 3: Remove Drives and Document
Carefully extract drives from each server, noting their serial numbers and associated data paths. This is where diligence pays off – mishandling or overlooking drives during decommissioning can lead to data breaches. As you remove each drive, maintain a detailed log that tracks which drive originated from which server, safeguarding against any confusion.
Step 4: Data Destruction
Security comes first. Opt for professional data destruction methods to guarantee that no data remnants remain accessible. Our NIST 800-88 compliant drive wiping service ensures that your data is irretrievable. Consider on-site shredding for an added layer of security, providing immediate and verifiable drive destruction. Both services deliver a detailed certificate and serial log, providing peace of mind and compliance documentation.
Explore our data destruction solutions to find the best fit for your organization.
Step 5: Label and Pack Equipment
Ensure that all equipment, especially drives, is clearly labeled and organized for transportation. Group items based on their destination, such as re-use, recycling, or disposal. Proper labeling eliminates confusion down the line and streamlines the process for your e-waste removal partner.
Step 6: Partner with a Trusted IT Asset Disposition Service
Engaging a professional IT asset disposition (ITAD) company can save significant time and mitigate risks associated with data security and environmental compliance. Our company, serving Fort Pierce, Port St. Lucie, and Stuart, provides specialized services to rid businesses of obsolete technology while ensuring compliance with industry standards.
We offer free pickup for commercial loads of 10 or more units or a single full rack, making the transition seamless and cost-effective. Given our extensive reach across St. Lucie, Martin, Indian River, Okeechobee, and northern Palm Beach counties, opting for local expertise is both convenient and reliable.
Learn more about our server and network removal services to see how we can support your decommissioning needs.
Step 7: Final Inspection and Documentation
Once the server rack is emptied and all components have been processed, conduct a final inspection to confirm that no equipment has been overlooked. Maintain all documentation from the decommissioning project, including inventories, data destruction certificates, and handover records. This documentation is critical for future audits and can provide valuable insight for your next decommissioning project.
Conclusion
Decommissioning a server rack without losing track of a single drive demands a structured approach that combines careful planning and the right partnerships. By following this checklist, IT leaders can ensure a secure, efficient, and responsible transition that safeguards company data and maximizes asset recovery. Reach out to trusted local partners to simplify and secure the process further.